Mushroom cultivation and how to view mushroom spores with a microscope have surged in popularity in recent years. One of the most fascinating aspects of this field is the microscopic world of mushroom spores. These tiny reproductive cells, essential for fungi propagation, can provide valuable insights for amateur mycologists, hobby growers, and even scientists studying fungal species. If you’re keen to learn how to observe mushroom spores under a microscope, you’ve come to the right place. In this guide, we’ll walk you through everything from gathering spores to using a microscope for a detailed examination. Whether you are working with fresh spore prints or spore syringes, you’ll find it easy to follow these steps and learn how to view mushroom spore with a microscope.
Why Study Mushroom Spores?
Before we dive into the technical details, it’s worth discussing why you might want to know how to view mushroom spores with a microscope. Spores can provide valuable information, such as:
Identification of species: Some mushrooms have similar physical appearances, making visual identification difficult. Observing spore shape, color, and size can help differentiate between species.
Studying spore development: Mycologists can learn a great deal about fungi by studying how spores form, disperse, and develop into new mushrooms.
Ensuring spore purity: For mushroom cultivators, especially those working with spore syringes, observing spores microscopically helps confirm their viability and purity, which is crucial for successful cultivation.
Now, let’s get started with the materials and steps needed to observe mushroom spores under a microscope.
Materials You Will Need
How to view mushroom spores with a microscope, you’ll need the following equipment and materials:
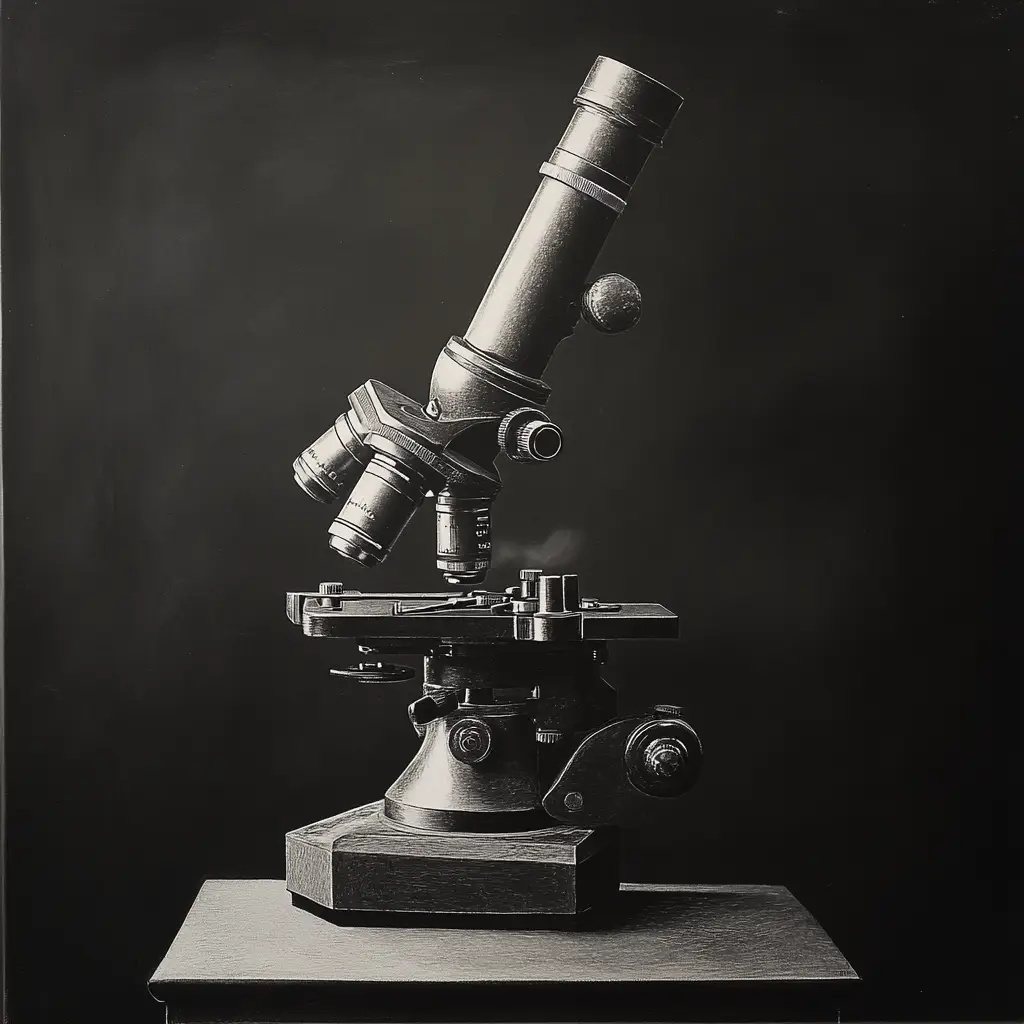
Microscope: A compound microscope with magnification capabilities between 400x and 1000x is ideal for viewing spores. A monocular or binocular microscope will suffice for basic observation.
Spore Print or Spore Syringe:
Spore prints are made by placing a mushroom cap on a piece of paper, glass, or foil, allowing spores to drop out from the gills.
Spore syringes are a liquid solution that contains suspended spores. These are commonly used for cultivation purposes but are also ideal for learning how to view mushroom spores with a microscope observation.
Microscope Slides and Cover Slips: These are necessary to hold and secure the spore sample for viewing.
Dropper: A sterile dropper for liquid spore samples from spore syringes.
Staining Solution: This is optional, but some mycologists use a stain like Methylene Blue to make spores more visible under the microscope.
Tweezers or Scalpel: To handle mushroom caps for making spore prints.
Sterile Water (for spore syringes): If you are working with spore syringes, you may need sterile water to dilute the sample or clean slides.
Lab Gloves and Disinfectant: Keeping the workspace sterile is critical when working with spores, particularly if you intend to cultivate them later.
Step 1: Preparing the Spore Sample
Using a Spore Print
If you’re working with a fresh mushroom, your first task is to collect a spore print. Here’s how to view mushroom spores with a microscope:
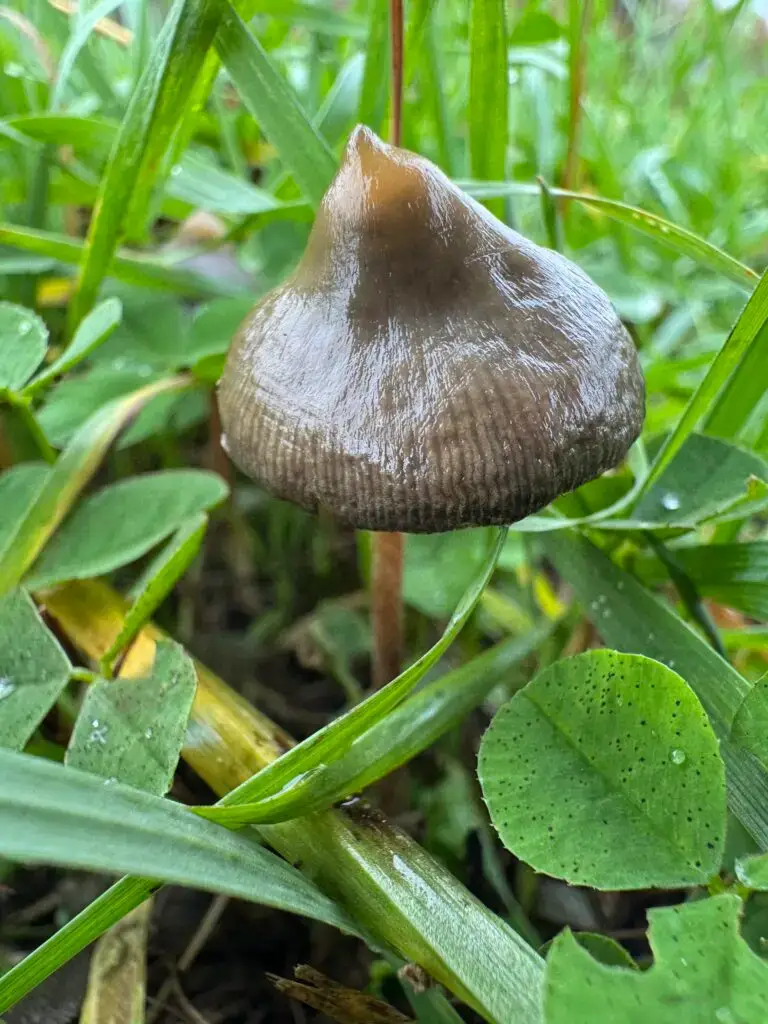
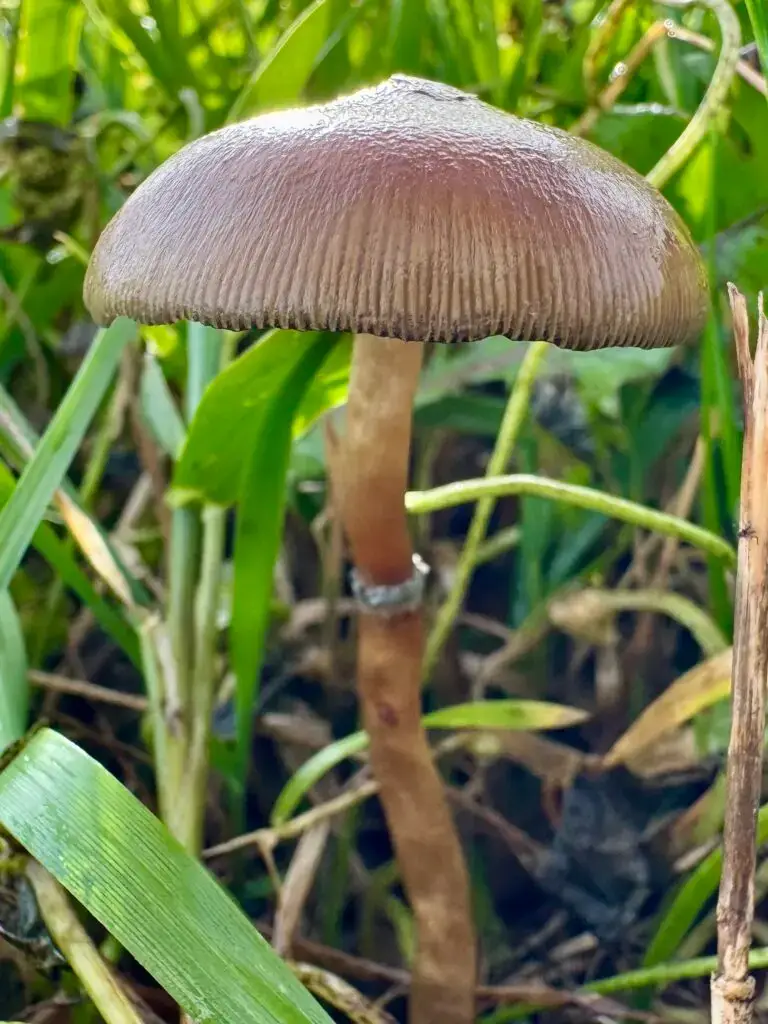
Choose a Mushroom Cap: Select a mature mushroom, preferably one with fully open gills.
Cut the Cap: Use a sterile scalpel or knife to carefully cut the stem just below the cap. Make sure your tools are sterile to prevent contamination.
Place the Cap on a Surface: Lay the mushroom cap gill-side down on a piece of white paper, foil, or glass slide, depending on your preference. Cover it with a bowl or container to prevent air movement.
Wait for Spores to Drop: Allow the cap to sit for several hours or overnight. The mushroom will release spores, leaving a spore print on the surface below.
Collect the Spore Print: Once the print is visible, you can transfer a small portion of it to a microscope slide for examination. Use a sterilized instrument like tweezers or a scalpel to carefully scrape some spores onto the slide.
Using a Spore Syringe
If you are working with a spore syringe, the process of how to view mushroom spores with a microscope:
Shake the Syringe: Spore syringes contain spores suspended in sterile water. To ensure even distribution of spores, gently shake the syringe before use.
Prepare the Slide: Place a clean microscope slide on your workspace.
Apply a Drop: Using a sterile dropper or the syringe itself, place a single drop of spore solution onto the microscope slide. Avoid using too much liquid, as it can make the sample difficult to view.
Optional Staining: If you are using a stain, now is the time to add a small drop to the spore sample. Methylene Blue or other biological stains will make the spores easier to observe under high magnification.
Cover the Slide: Gently place a cover slip over the drop, avoiding bubbles, which can distort your view.
Step 2: Setting Up the Microscope
Once your spore sample is ready, it’s time to set up your microscope for optimal viewing. Here is how to view mushroom spores with a microscope:
Turn on the Light Source: Ensure that the microscope’s light source is working properly. Proper illumination is essential for viewing tiny structures like spores.
Place the Slide on the Stage: Secure the microscope slide onto the stage of the microscope using the stage clips.
Adjust the Focus: Start with the lowest magnification (usually 40x) to get an initial overview of the spore sample. You can then gradually increase the magnification to 400x or even 1000x for a detailed view.
Fine-tune the Focus: Use the fine adjustment knob to focus in on the spores. Be patient during this step, as spores are incredibly tiny and might require precise focusing.
Step 3: Observing the Spores
Now that your spore sample is under the microscope, you can start observing its various characteristics. Here’s how to view mushroom spores with a microscope.
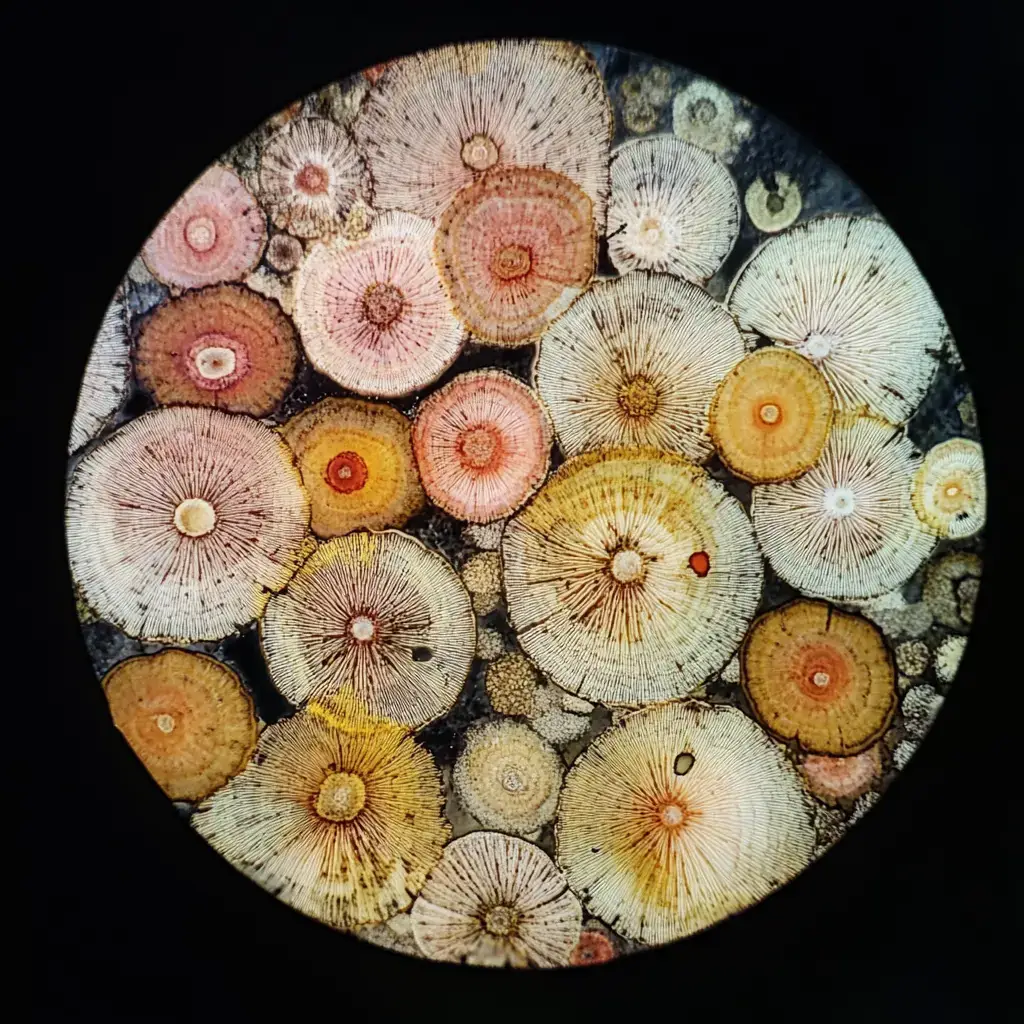
Spore Shape: Spores can be round, elliptical, spindle-shaped, or even more complex in structure. The shape can often help identify the mushroom species.
Spore Size: Spores are measured in microns (µm), and while most are quite small (usually between 5-20 µm), they can vary significantly in size depending on the species.
Spore Color: Under the microscope, you may notice spores that are white, brown, purple, or black. The spore print color, visible on your paper or slide, is another important clue to species identification.
Surface Texture: Some spores have smooth surfaces, while others may have a textured, spiny, or warty appearance. This texture is not always easy to see but can be highlighted with staining.
Spore Dispersal Patterns: Spores may be spread out randomly or in clusters. The arrangement can give you an idea of how the mushroom releases its spores.
Step 4: Recording Your Observations
It’s always a good idea to document your findings for future reference. You can draw the spores, take pictures using a microscope camera, or simply write down your observations regarding size, shape, and other key characteristics.
Troubleshooting Tips
Blurry Images: If your spore sample looks blurry, make sure your slide is clean and free from excessive moisture. Adjust the fine focus slowly for a clearer view.
Too Few Spores: If you’re working with a spore print and can’t see enough spores, try scraping a larger section of the print onto the slide. For spore syringes, shake the syringe again and apply another drop of solution.
Conclusion
How to view mushroom spores with a microscope is a rewarding and insightful process. Whether you’re identifying a species, ensuring the purity of spore syringes for cultivation, or simply exploring the hidden world of mycology, a microscope opens up a realm of discovery. By following the steps above and using the right tools, you can easily observe these fascinating reproductive cells and gain a deeper appreciation for the world of fungi. How to view mushroom spores with a microscope is brought to you by The Spore Depot. Check out our 10 pack sampler https://thesporedepot.com/product/10-pack-cubensis-mushroom-spores-syringes/ For more tips and resources, check out Mushroom Council or Grow Mushrooms At Home.